Air Fryer Ciabatta Garlic Bread
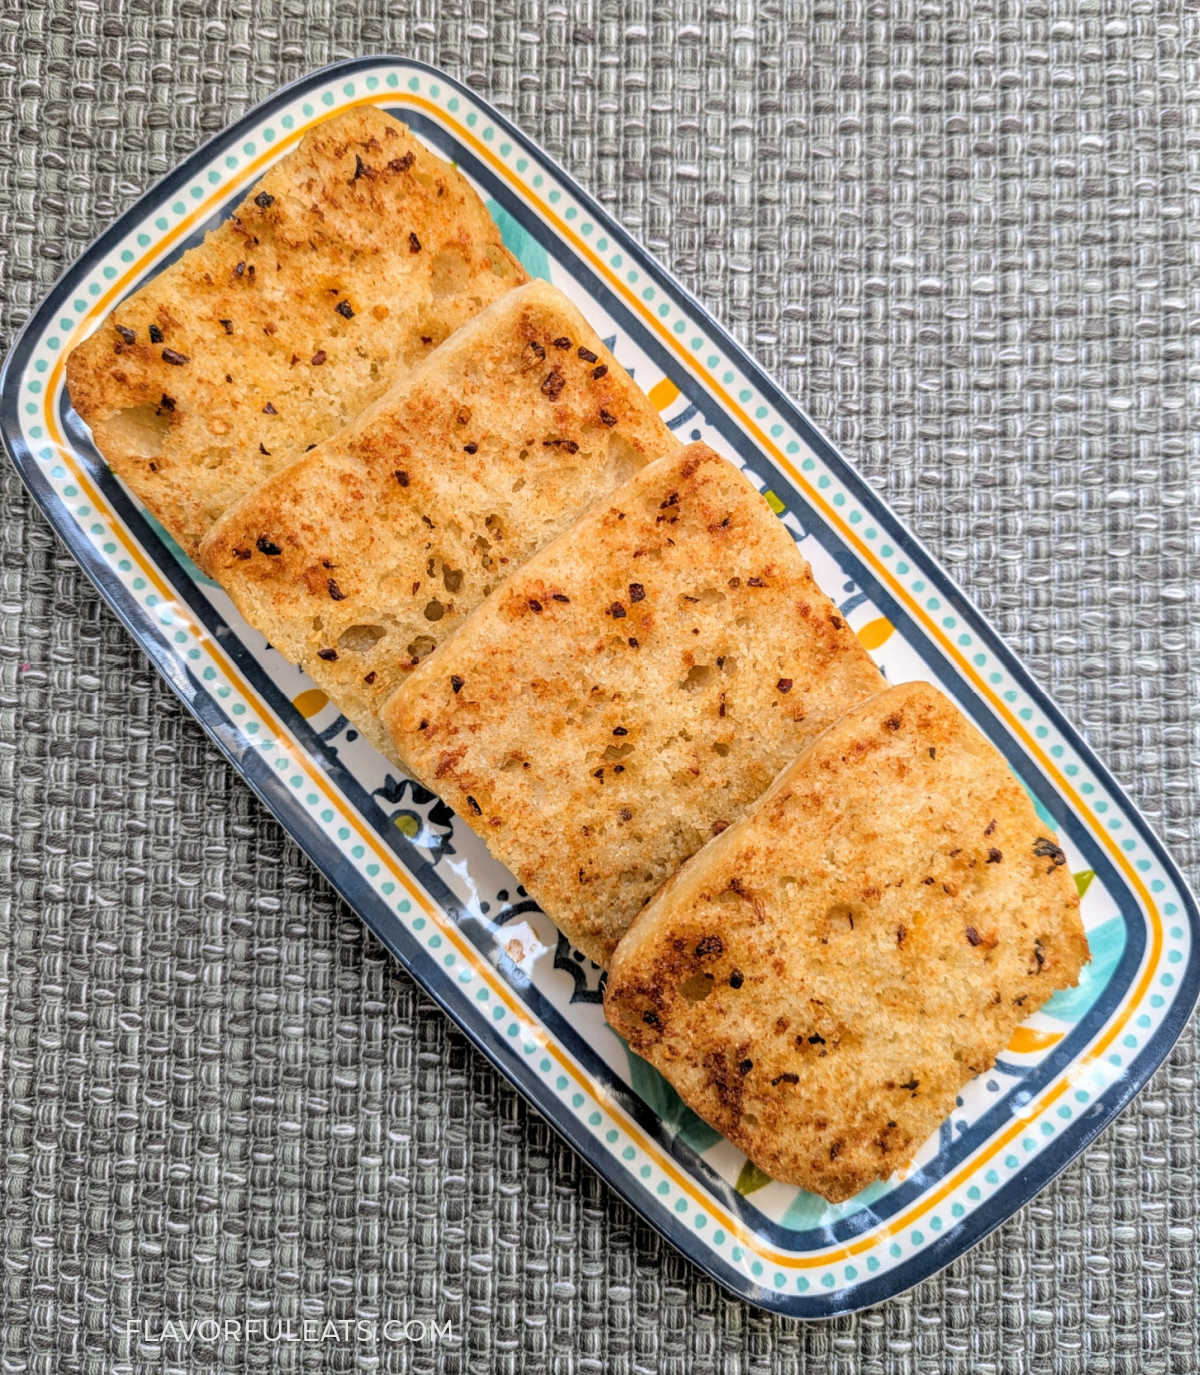
This Air Fryer Ciabatta Garlic Bread is crispy on the outside, soft and buttery on the inside, and perfect for dunking in soups or serving with your favorite Italian meals.
This post may contain affiliate links. Please read my disclosure policy.

Air Fryer Ciabatta Garlic Bread is crispy, garlicky, buttery, and ready in under 10 minutes!
It’s the perfect easy side dish for pasta, soup, or any time you want garlic bread.
This recipe is made with only a handful of ingredients and thanks to the air fryer, you don’t have to turn on the oven!
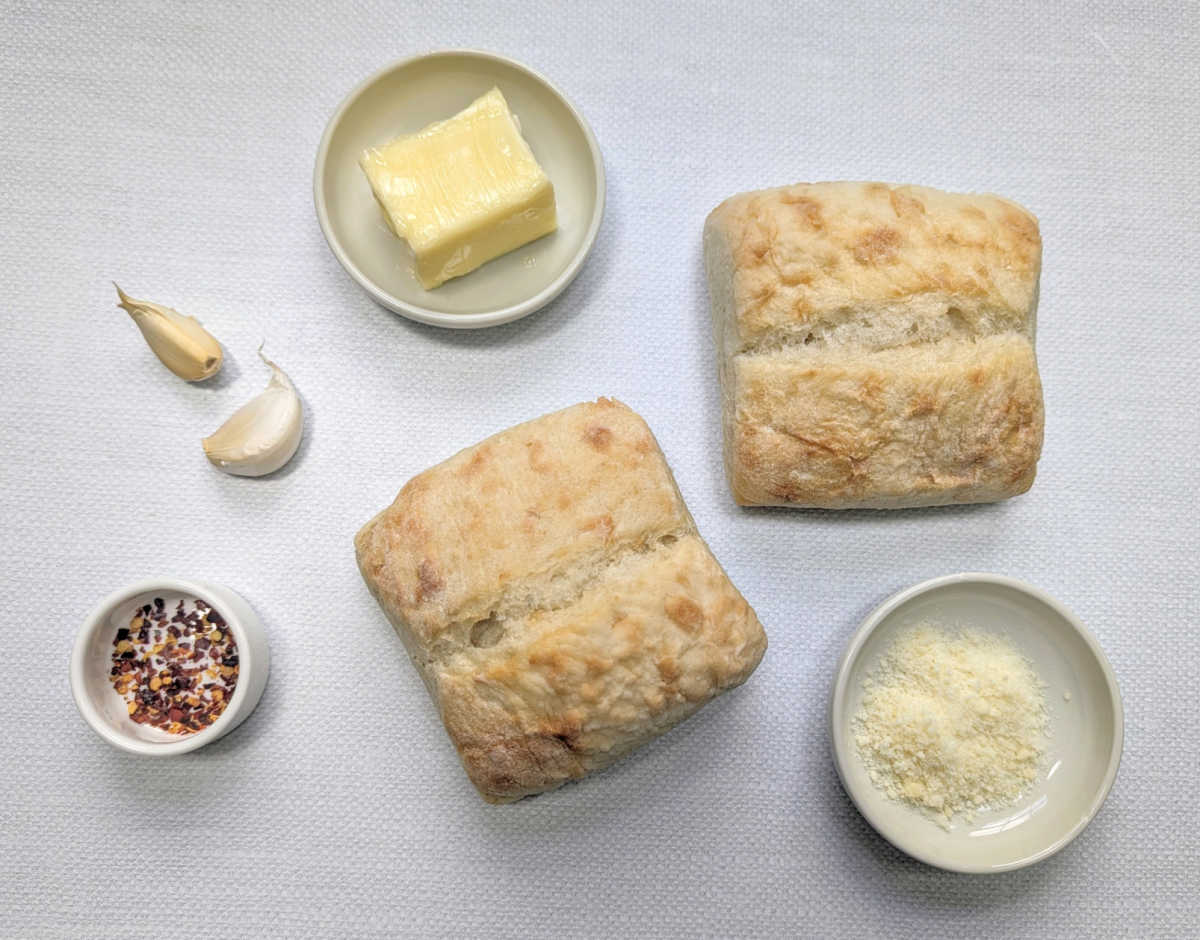
Ingredients needed (scroll down to recipe card for complete recipe):
- Ciabatta rolls
- Butter
- Garlic – fresh garlic or garlic powder
- Parmesan cheese
- Crushed red pepper flakes (optional)
📍The full recipe with exact ingredient amounts and instructions is on the recipe card at the bottom of the post.
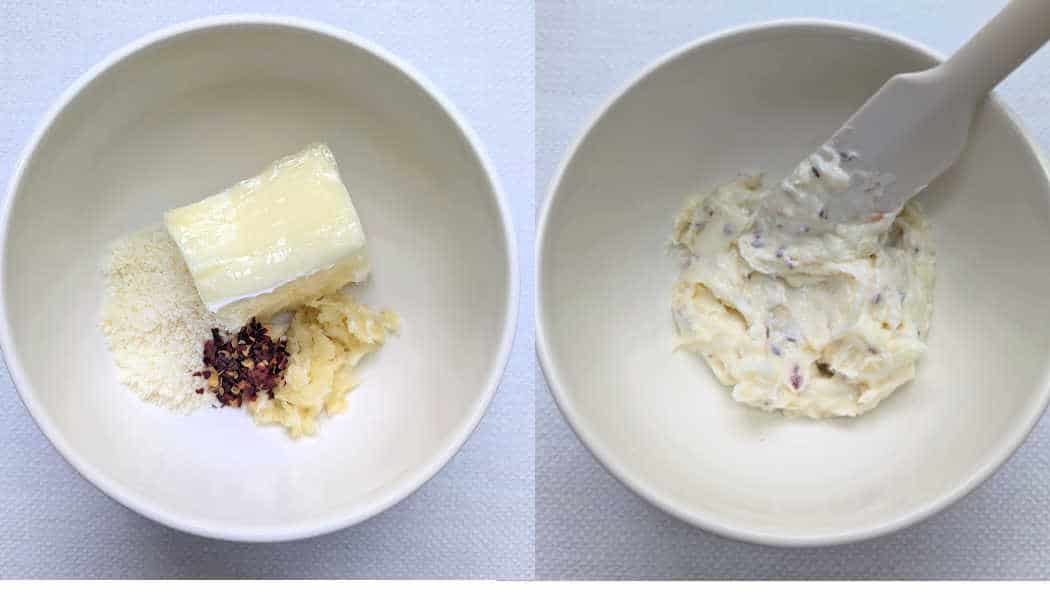
Simply combine the garlic butter ingredients in a small mixing bowl and slather it on the halved rolls. Bake it in the air fryer (instructions below) and you’re done!
How to serve ciabatta garlic bread
This garlic bread is the perfect side to any Italian dish. Some of our favorites are:
- Cheesy Spinach Lasagna Roll Ups
- One-Pan Creamy Chicken & Tortellini
- Creamy Shrimp & Gnocchi with Asparagus
- One-Pan Cheesy Lasagna Skillet
💡Tips & Tricks
- Ciabatta rolls: I get a big pack of fresh ciabatta rolls at Costco and freeze them. When I want to make this bread, I just pop however many I need in the microwave until soft.
- Garlic: I’ve tested this recipe with both fresh garlic and garlic powder. While fresh garlic is supreme, the garlic powder version tastes great too.
Looking for more bread recipes? Here are some favorites:
- Calabrian Chili Garlic Bread
- Slow Cooker Herbed Focaccia Bread
- No-Knead Dutch Oven Pickle Bread
- Jalapeno & Green Chile Spoon Bread
Flavorful Eats is a participant in the Amazon Services LLC Associates Program, an affiliate advertising program designed to provide a means for us to earn fees by linking to Amazon.com and affiliated sites.
Air Fryer Ciabatta Garlic Bread
Equipment
- Air fryer
- small mixing bowl
Ingredients
- 3 tablespoons butter softened
- 2 pinches salt (if using unsalted butter)
- 2 minced garlic cloves OR 1/2 teaspoon garlic powder
- 2 teaspoons grated Parmesan cheese
- crushed red pepper flakes to taste
- 2 ciabatta rolls halved
Instructions
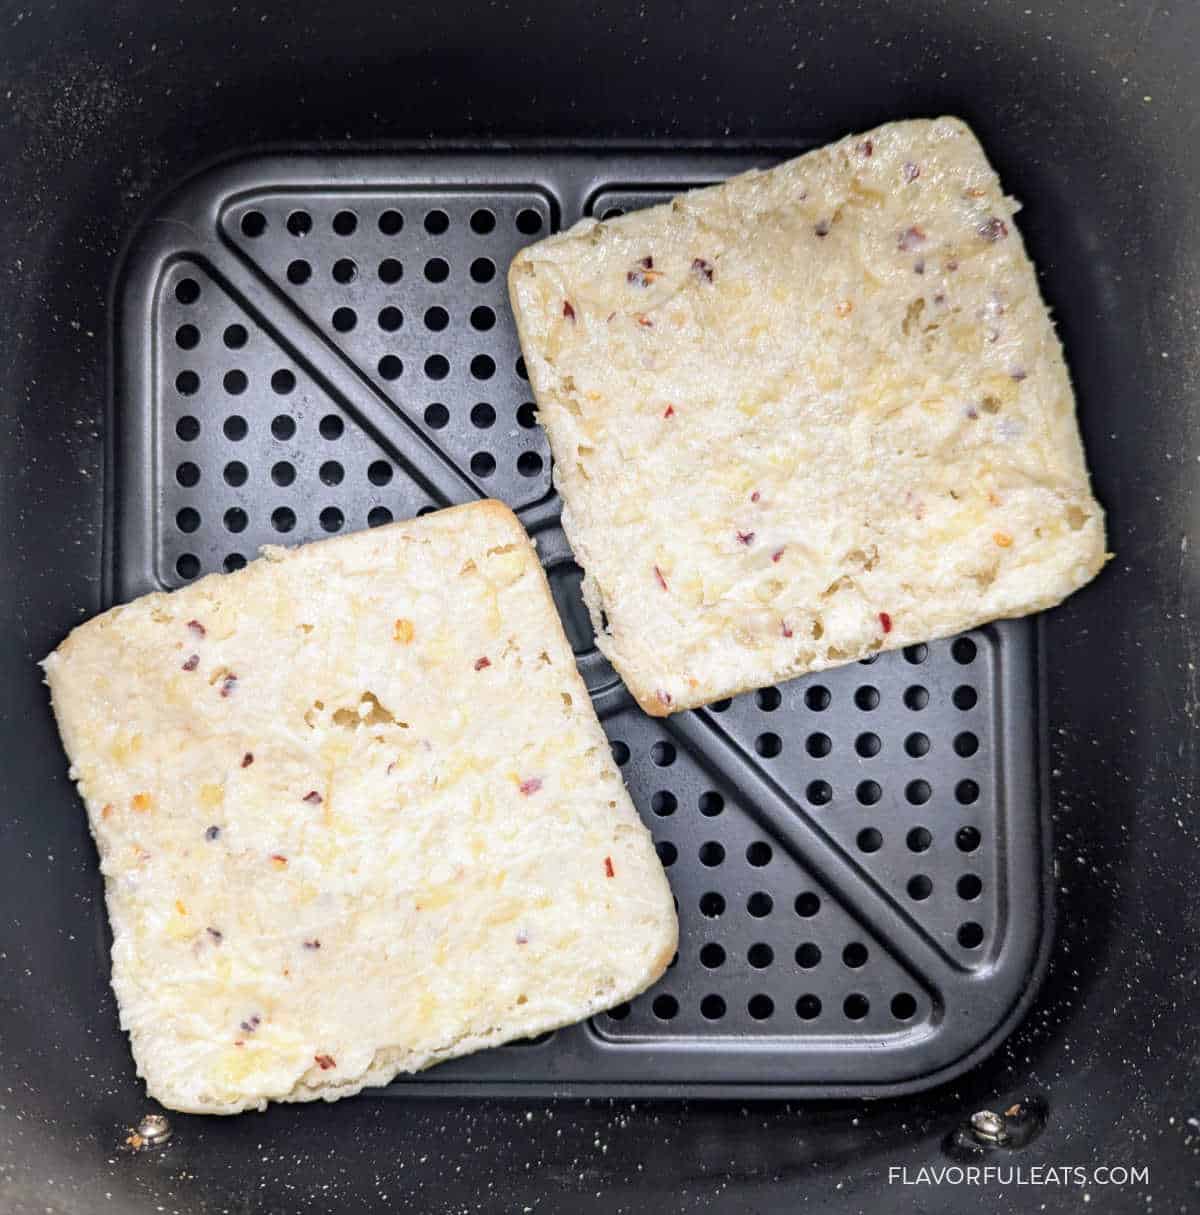
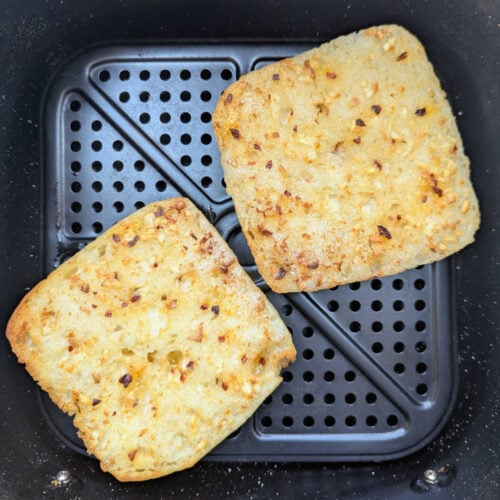
- Combine butter, salt (if using unsalted butter), garlic, Parmesan cheese, and crushed red pepper flakes in a small mixing bowl. Spread the garlic butter on the insides of each ciabatta roll half.
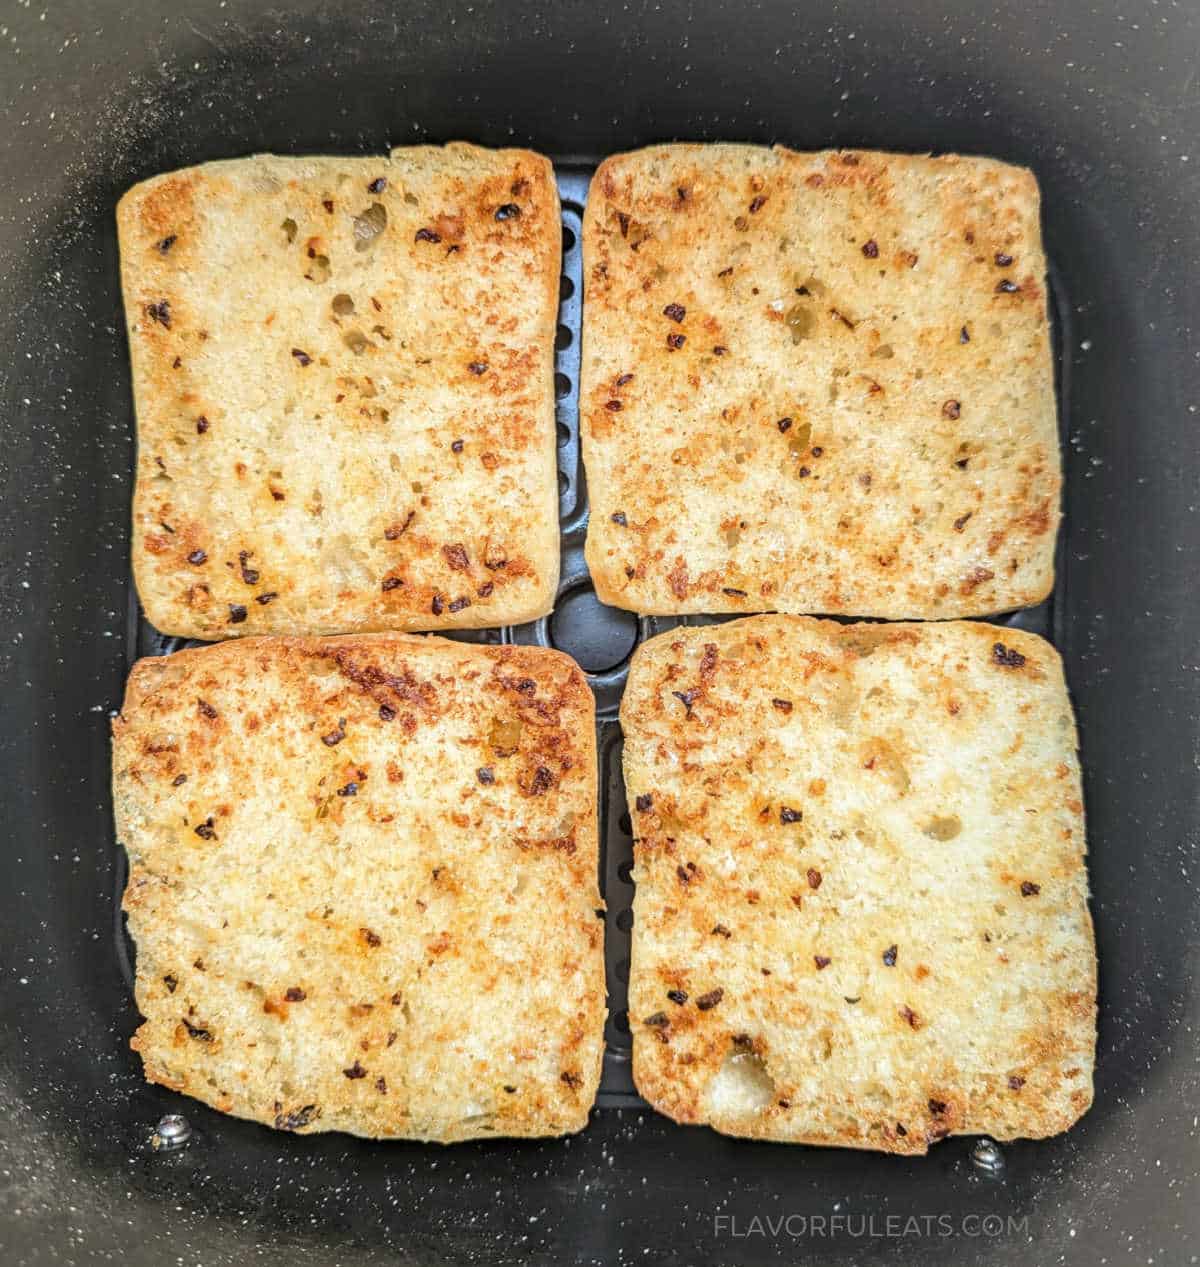
- Place the ciabatta rolls (butter side up) in an air fryer and cook for 5 minutes at 370℉. They should be golden with crispy edges. If needed, add an extra minute to the cooking time. Enjoy!
Notes
- Store leftover garlic bread in an air-tight container in the fridge for up to 4 days.
- I have made this with fresh garlic and garlic powder. While minced fresh garlic is preferred, garlic powder also works.
- I like ciabatta rolls for this recipe because they have a great chewy, yet crispy texture that’s perfect for garlic bread. You could use another type of bread, but the cooking times may vary.
A quick & easy way to make garlic bread that doesn’t use the oven! Perfectly crispy, buttery bread that’s perfect for pasta and soup!